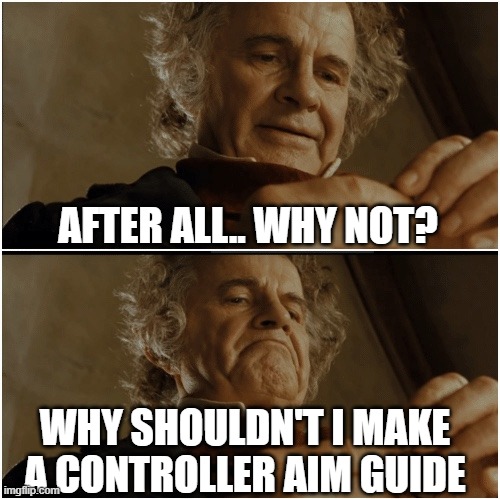
I’ve made many aim guides before. The Ultimate Aim Training Guide, Sniper Guide, 11 Aim Tips, K&B Aim Guide, and much more. But I’ve never dived into controller aim guides. After all, why shouldn’t I?
This guide will be divided into four parts. Setup, settings, gameplay & practice. Each one is significant and critical for your success. I suggest you not skip any part and read it for your own benefit. So, without further ado, let’s get started.
Part 1 - Setup
Before we even touch our controller, I suggest taking a look at your setup.
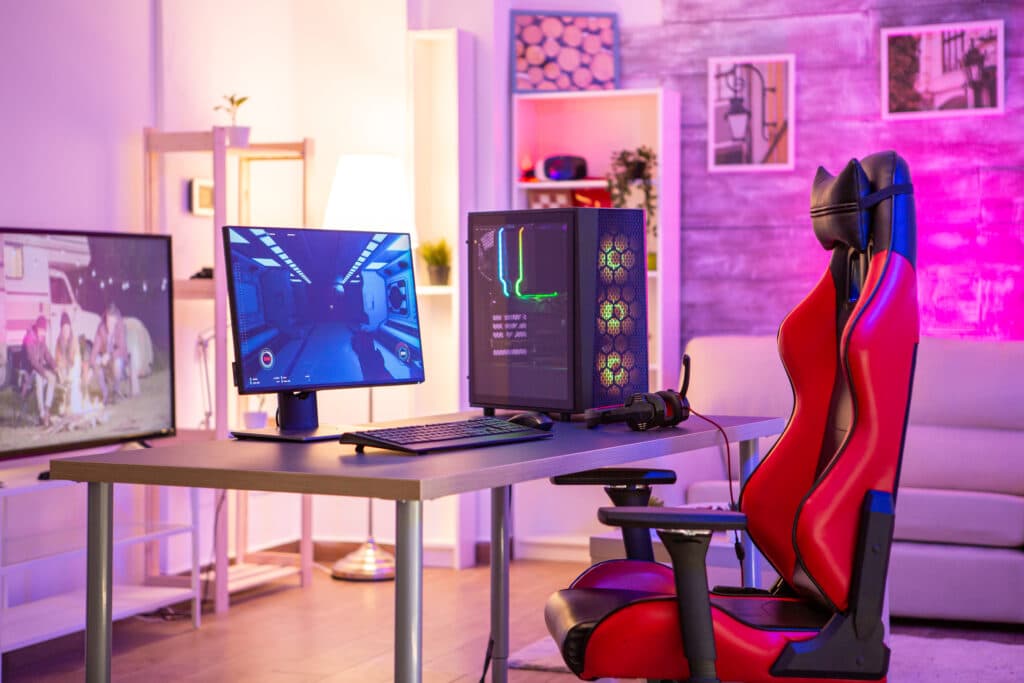
1.1) Get A Gaming Monitor
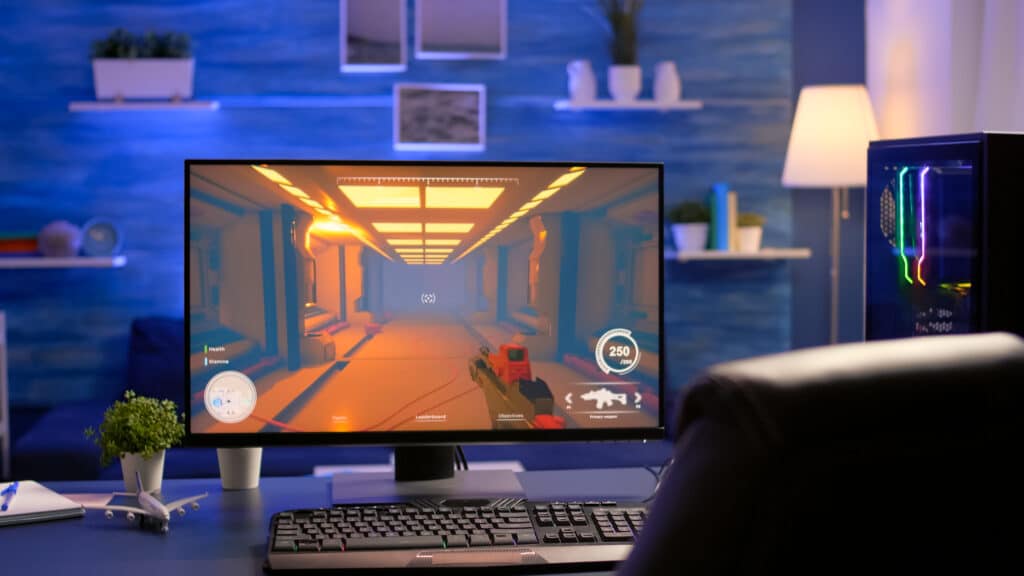
Now, this depends on your level of investment in your gaming journey, but if you are truly serious about improving your controller aim, I suggest getting a PC.
You see, having a PC has many benefits, and playing on a TV has many downsides.
TVs are not made for gaming. Therefore, it is not ideal for gaming. They have significant input delays and do not provide a smooth experience. Even if you think your TV does offer a smooth experience, I can 100% tell you that you’ve never played on a good PC before.
There are TV’s with up to 100ms input lag. In a good gaming TV, you are looking at 10ms input lag. At the same time, a good gaming monitor has 2ms. This difference is enormous. It is just on the whole another level, and I am not even talking about 144Hz and colors.
Gaming monitors have colors suited for gaming. For example, they are brighter in black areas so that you can see campers in the shadows. In addition, you can have 240 Hz gaming monitors, which will provide a smooth experience in contrast to a regular TV.
My recommendation would be the professional players’ favorite – BenQ ZOWIE XL2456K.
It is highly recommended to get a gaming monitor for console players as gaming monitors usually have lower input lag and higher Hz, which translates into a smoother, snappier overall experience. TVs are not meant for gaming. Therefore, they are not the ideal peripheral for high-level gaming.
1.2) Get A PC - Optional
If we are already talking, get a gaming PC.
Not only will it run better than your console (If you invest in a PC correctly), it opens the room for extra options. There is a reason every pro player who plays on the controller uses a PC to play.
It has better performance so you can use your 240hz monitor to the fullest. The difference between 60 fps and 144 fps is massive. Do not leave performance on the table.
Plus, sometimes, it has extra options which can help with your performance. The most notorious one is the FOV (Field Of View) slider. Warzone, for example, does not have a FOV slider for console players, leaving them at a disadvantage as they are playing at 80 FOV while PC players play at 120 FOV. (Learn more about FOV).
It is highly recommended to get a gaming PC for console players as it can be built with more power which means faster reload times and higher FPS count. Plus, gaming monitors have far fewer input lag and delays, providing a smoother experience and gameplay performance boost.
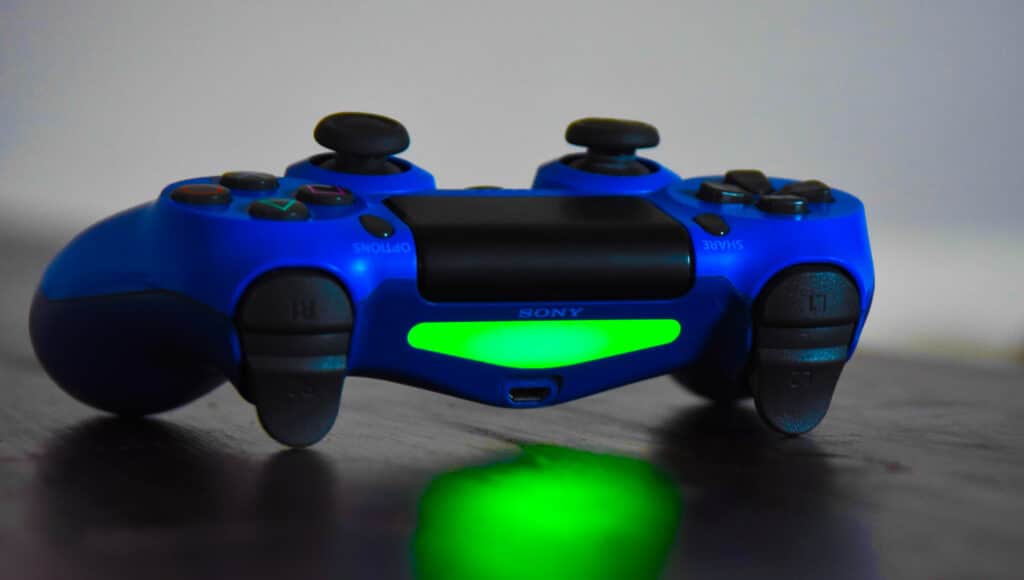
1.3) Customize Your Controller
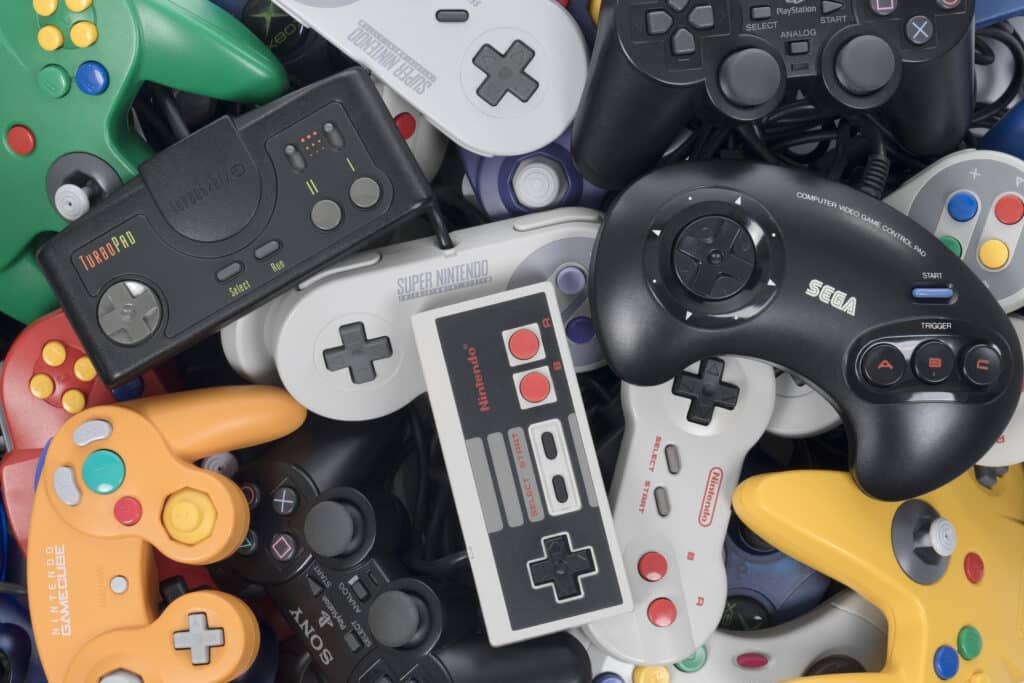
Some gaming mice are better than others. Controllers are no different. Make sure your controller fits your needs.
There are analog thumbsticks that attach to your analog sticks and add height which is the same as a bigger mousepad. More space to maneuver means more accuracy and precision. Kontrol Freek is the most known one.
There are shift paddles that you can use that can help you during gameplay.
There are different controllers all around.
Make sure you put in the work and see how you can get the most out of your controller. After all, PC players buy the best mousepad, the best mouse, to get the best experience possible. You should be too.
Customizing your controller or getting a good gaming one that suits your needs is highly recommended. You can use gaming analog thumbstick, shift paddles, or even completely new controllers to improve your performance.
Part 2 - Settings
Don’t take your settings for granted.
2.1) Sensitivity
Sensitivity is a bit harder topic to talk about than mouse sensitivity. In the PC community, the general consensus is that lower sensitivity is better. And that’s it. However, controllers are a bit different.
The higher the sensitivity, the faster you can flick between opponents. As a result, you are more agile and generally snappier. However, you are less precise and accurate, and it is definitely harder to make precise shots.
Therefore, we have to find the middle ground. To find the best of both worlds.
I want you to experiment with it, try and increase your sensitivity see how it feels, and try and reduce your sensitivity. Play around with it.
Since there are pro players with sensitivities all around the spectrum, you must find the best one. Each individual shines with different sensitivities. So make sure to experiment with it and do not take the default sensitivity for granted.
P.S You may change your ADS sensitivity multiplier so you can be faster and snappier out of ADS but more accurate in ADS.
It is highly recommended to find out the best sensitivity for you. However, since there are no general counsues on the best sensitivity for controllers and professional players with sensitivities all around the spectrum, it is essential to experiment with it and try different sensitivity values.
2.2) Deadzone
Set Deadzone at 0.0 (You can set this setting in the controller settings). Now, go into a private match and see if you slowly move or slowly drift your aim. If you do, I recommend increasing your deadzone with an incremental of 0.01 until it is perfect.
Setting your deadzone as low as possible without any problems will help with fine movements and micro-adjustments. However, it will be noticeably harder the larger the deadzone value set.
If it is higher than 0.10, I recommend you buy a new controller. It will drastically improve your micro-adjustments, hence your performance.
Using the lowest possible values for the deadzone setting is highly recommended. It will drastically improve your micro-adjustments and fine movements. However, on lower values, your player may move by himself, so use the lowest values your controller can handle without any unwanted movements.
2.3) Extra Settings
There are more critical settings you should nail down when it comes to controller settings.
Make sure to review all controller settings so you don’t know mise out. Don’t leave the performance at the table. Take care of every setting.
For example, as a Warzone player, you have Aim Response Curve Type, which should be set to Dynamic.
Aim assist level. Make sure you configure it to the best setting according to your game. For example, in Warzone, it is recommended to use Standard.
Search your game + best controller settings. For example: “Warzone best controller settings,” and you should be set.
It is highly recommended to research the best controller settings in the game you play. Some settings can make or break your gameplay with a controller. Therefore, it is highly recommended to come prepared.
Part 3 - Gameplay
Let’s make you a beast!
3.1) Centering
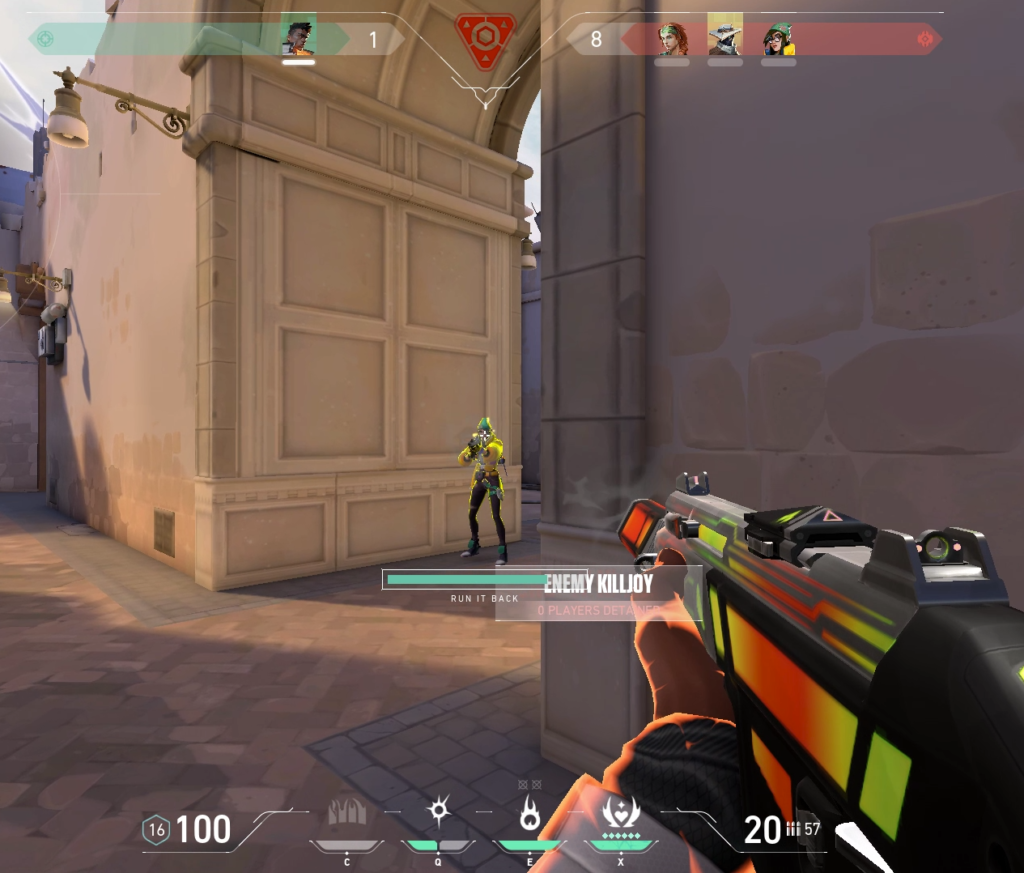
PUT YOUR CROSSHAIR HEAD HEIGHT. Probably the most important tip I can give you.
You’ve seen me talk about centering and crosshair placement countless times, but it is even more critical with controllers.
You see, when playing FPS games, we tend to lower our crosshairs to the ground so our gun model won’t block our vision. The problem is that you must flick every time you see an opponent. You have to put your crosshair in the middle of the screen again.
This is where centering comes in clutch. What if you leave the crosshair head height at all times? An opponents jump on you? No biggie, your crosshair is already on his head. Now we let aim assist do all the hard work for us.
This concept is essential in controllers because it is way harder to be precise and snappier with a controller. With an M&K (Mouse & Keyboard), I can quickly flick into an enemy, but with a controller, it is definitely slower.
The more aim movements you have to make, the more likely you will make errors. Therefore, if you aim to the ground and an enemy pops up. You have to flick in addition to actually aiming at the target. Adding a step for our whole aiming process leaves more room for error.
It is highly recommended always to keep your crosshair head height to make sure you are ready for an enemy encounter. Removing additional movements like a flick to the enemy’s head leaves less room for error. The more aim movements you have to make, the more likely you will miss.
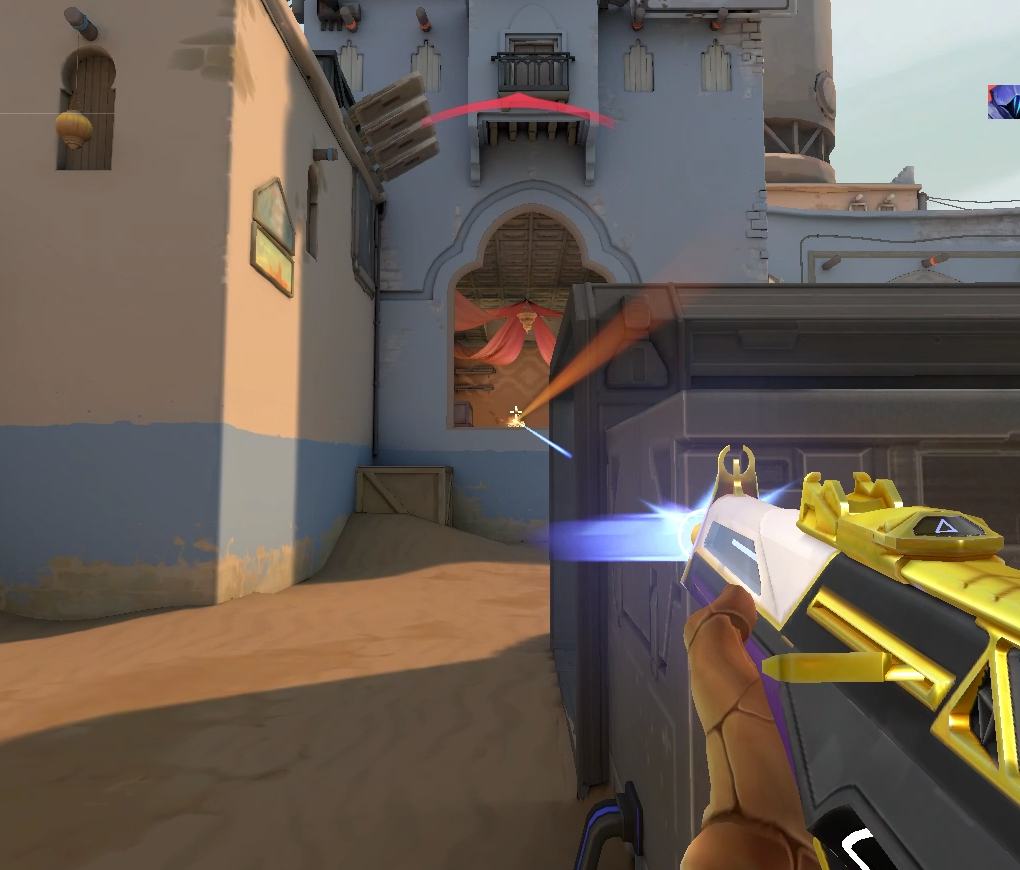
3.2) Rotational Aim Assist

For anyone who does not know what rotational aim is, assist. Welcome to heaven.
Rotational aim assist is when you move your player (using only the left thumbstick), and your general body direction (crosshair) generally rotates to an enemy head.
Let’s say you are in a gunfight, standing still. You are shooting and having fun with the aim assist. But now, it is the same gunfight, but you are strafing left and right. Since you are moving, you are reaping the benefits of rotational aim assist, which is generally overturned. (Especially in Warzone). Double the aim assist.
Of course, strafing and moving in a gunfight have the additional benefits of being a more challenging target to hit. The main thing is generally the rotational aim assist.
STRAFE DURING GUNFIGHTS AND CONSTANTLY MOVE TO ENJOY ROTATIONAL AIM ASSIST.
You can see this by yourself. Go to a private lobby. Use only your left thumbstick to move around the bot, and do not use your right one to aim. You will see that you are generally centered on him, and rotational aim assist kicks in.
To get the most out of rotational aim assist, it is highly recommended to strafe and move during gun fights to activate it. It doubles the power of your assist, massively helping controller players with their aim performance.
3.3) Sidestep To Microadjust
What do I mean by sidestep to micro-adjust?
You do not need to fine-tune your aim by using the right thumbstick for minor micro-adjustments. Utilizing moving to aim with controllers is critical to get the most out of it.
Instead of doing little fine movements with your right stick, side step instead. Walk a bit to the side. Since micro-adjusting with a controller is hard, sidestepping to accurately hit a target during a gunfight is the way.
For example, you are shooting an enemy far away, and you are not directly on him. Instead of trying hard to put your crosshair on his head, try to move a bit to the side and put your crosshair on his head.
It goes hand in hand with the rotational aim assist. While moving, your crosshair will automatically lock into your opponent.
This way, you truly maximize your performance by utilizing everything your controller and game offer.
P.S This technique might look weird for PC players because this technique does not apply to PC players. PC players can’t use sidestepping to help with their aim since it is a digital key press of on/off. With a controller, you have an analog stick, and you can easily make fine movements.
3.4) Focus

Focus on the enemy. Not on the crosshair.
I constantly find new players who focus on their crosshairs when aiming. Huge mistake.
As I said in my Where To Look When Aiming: Crosshair Or Enemy? in which I go way more in-depth than here, your crosshair is only an anchor point for the center of the screen. That’s it.
You want to focus on the enemy and bring the crosshair to them. Concentrating on the enemy will improve your reactivity skills and help you track opponents better. Therefore, ideally, you should always be focused on the enemy’s head.
If we are on the topic of focus, ensure you are always focused. Focused practice is the key to improvement. Do you know why there are players with hundreds and even thousands of hours but are still bottom 50%?
Because they lack focus, you see, as a focused player, you learn from your mistakes. You aim better. You are more disciplined and more likely to notice your errors and what’s happening in-game.
So make sure you focus at all times and do not play on autopilot!
Learn more about focus here: How To Improve Your Focus.
It is highly recommended to focus on the enemy rather than the crosshair. The crosshair is only an anchor point to the center of the screen. Concentrating on your opponents will improve your reactivity and tracking skills.
Part 4 - Practice
Practice does not make perfect. Only perfect practice makes perfect.
4.1) Perfect Practice Makes Perfect
I want to stress the fact that you have to practice smartly. You do not need to spend thousands of hours in-game practice to succeed. You can achieve a great aim in a fraction of that time.
But the key is good practice. Focused practice. That’s why I’ve dedicated a whole part to this. I want to ensure you know how to practice and that you do so perfectly to get the maximum results in the minimum possible time.
So key takeaways are:
- You need to be focused at all times – When asked RiddBTW what the best time to train is, he said the best time to practice is the time of day when you are most alert and focused.
Some people are more alert after waking up, while others are more alert before sleep. Find the best time for you and stick to it. Focused practice makes perfect. - Stay consistent – Consistency is everything. For example, it is better to aim train 15 minutes a day rather than 2 hours on the weekend. Make a schedule for yourself that fits your lifestyle, and stick to it!
- Stay motivated by appreciating your hard work and results – Everyone needs a pat on the back every once in a while. So make sure you appreciate every step of the way, celebrate milestones, and share your results with your friends!
To ensure you practice correctly and efficiently, it is recommended to be focused at all times and not auto piloting while aim training. Staying consistent is the most important thing, and making sure you are motivated to keep on grinding!
4.2) Custom Matches / Deathmatch

The best method for improvement is doing drills.
Let’s say you play a battle royale. You hop into a match, play for a few minutes, and get a few kills. Okay, you’ve killed ten enemies in 10 minutes. On the other hand, you started a custom match and managed to kill 200 bots in 10 minutes. See the difference?
You get way more work on your aim while isolating your aim by using custom matches or deathmatches for your own benefit.
If your game does not support a good custom lobby where you can work on your aim, then skip this step. But most games have a good custom lobby or deathmatch servers where you can practice your aim.
Go into a private match, put some low-level bots and really focus on hitting your shots. You will get way more kills in a shorter period of time, which means that this is a more efficient practice method than hopping in a regular match.
I, myself, play Warzone, and I hope into Modern Warfare custom lobbies to practice my aim. Check out my Warzone Aim Training: Be The Best Aimer On The Island to learn more about it.
THE MOST IMPORTANT THING IS FOCUS AND EFFICIENT PRACTICE.
Do not run around like a headless chicken killing bots. I want you to consciously think about the techniques I’ve discussed in part 3 and put them to the test. Keep your centering in check, keep strafing & focus on opponents.
Make sure you are focused. Getting to 1000 bot kills is not the goal. The goal is to be focused and improve.
Utilizing custom matches and deathmatches in-game to aim train is highly recommended. These modes are engagement heavy which means you will have more opportunities to improve your aim, which, as a result, improves your aim way faster.
4.3) Turn Off Aim Assist

Yep, you read it correctly. Turn it off.
You see, with aim assist, you become lazy. It does the work for you. Without aim assist, you are alone. You are the only thing that matters.
It forces you to be focused and precise. Really calculate every movement you make. It will take time and you will be bad at first, but the focused practice will make you insane very fast.
After killing some bots, (let’s say you play without aim assist for 1/3 of the practice), you turn it back on and you will feel like a god. You will hit shots very easily, you will notice how strong the aim assist is.
The goal of turning aim assist off is to make sure you are not being lazy. Is to really crunk out the gains. Milk every bit of performance you can. Since it forces you to be accurate, only then do you become greater.
Remember, do not abandon the techniques we talked about. Just because it is off doesn’t mean you should abandon strafing or centering. Keep it up at all times!
It is highly recommended to turn off aim assist while aim training on a controller every once in a while. It will force you to be more precise and focused during aim training, which will drastically improve your performance.
4.4) Aim Trainer
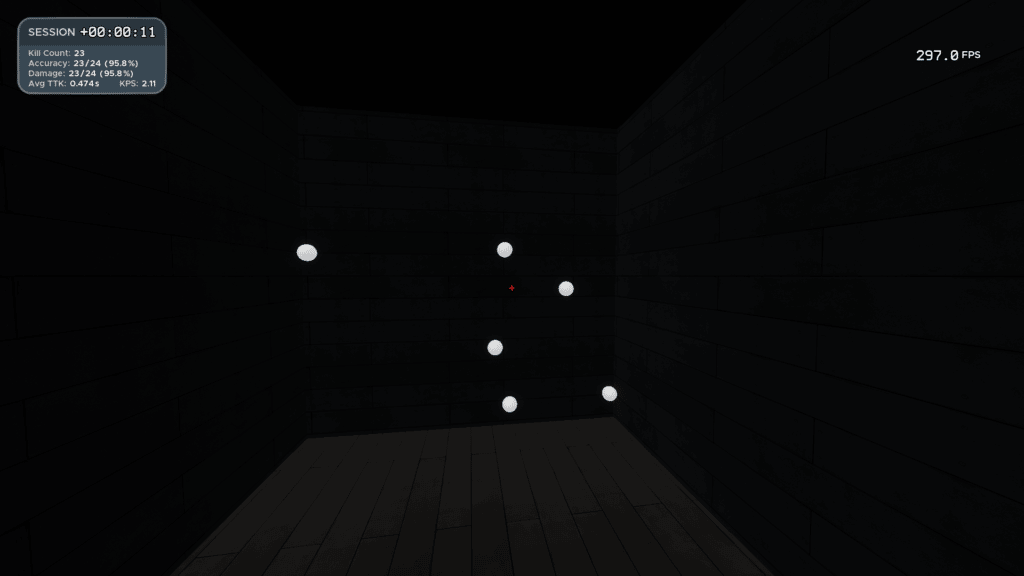
As a huge advocate of aim trainers, controllers are no different.
As I’ve said in my Are Aim Trainers Worth It?: The TRUTH, aim trainers provide the best environment for improving your aim. Many PC players in the aiming community swear by aim trainers, and I am no different.
You’ve probably seen the crazy sweaty K&M players on PC crushing players with crazy flicks and tracking skills. Well, you can be the same.
Aim Lab (Aimlab 101: Zero To Hero) has a dedicated controller setup to make it the most beneficial place for aim improvement on controllers. Change your sensitivity, FOV, and everything according to your in-game settings. (Turn on aim assist as well!)
Find a good aim training routine that suits your needs and your play style.
I recommend doing:
- Spheretrack
- Spidershot
- Motionshot
- Switchtrack
- Sixshot
- Microshot
- Strafetrack
These are your bread and butter. Experiment with them and see how it goes. It will be worth it!
Learn more at The Complete Aim Training Guide: The Godlike Aim Journey.
It is highly recommended to use aim trainers to improve your controller aim since they are the ideal environment for aim training since they provide the tools for a truly dedicated, focused practice. Therefore, aim trainers are necessary if you want to practice your aim.
Final Words
Hopefully, you are on track to becoming the top 1% controller player. As a top 1% K&B, I challenge you to become the top and join the peak.
Thanks for reading, and I will see you next time!